

1. First install the Wireguard App according to your system, you can find it here
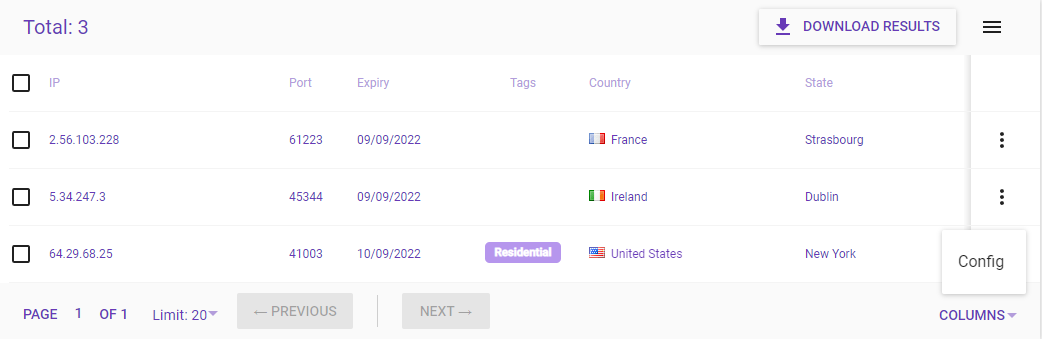
2. Go to your purchased Wireguard IPs from us, at the end of the row you have a 3 dots option menu, press it and select Config.
3. Here you will see your configuration.
In the first part you have the QR code of the configuration, for mobile apps you can scan it to easily add it
In the second part you will see the text of the configuration, which you can:
- Download the .conf file.
- Copy the configuration text, and save it on your device in a file with the .conf extension
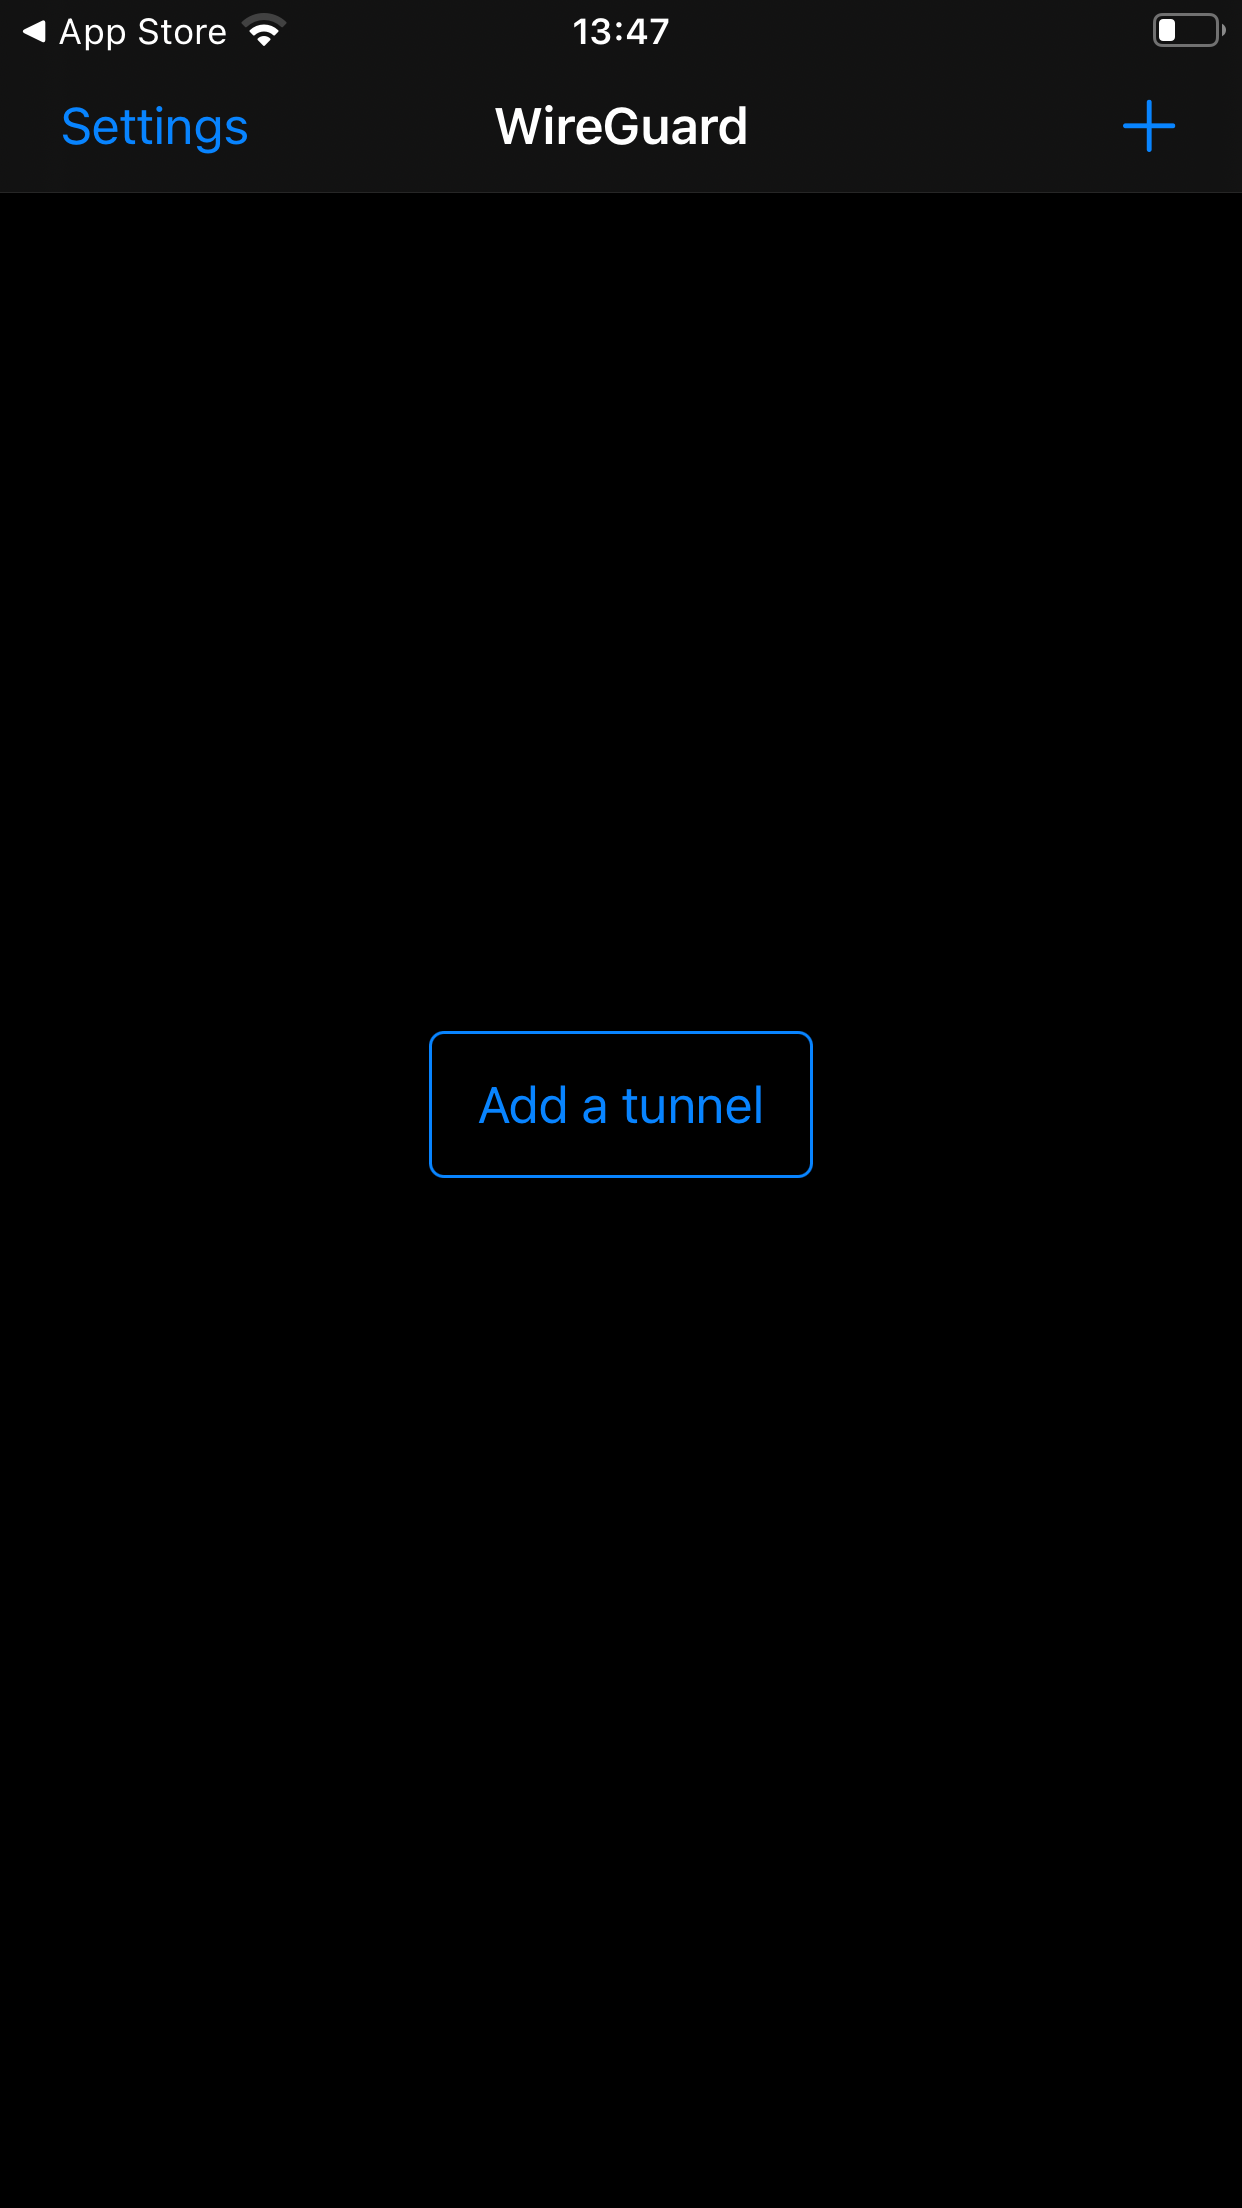
4. Open the Wireguard app, in the top right press on the plus sign
5. Here select the option you want, if you downloaded the file you can choose Create from file or archive or Create from QR code, in this tutorial I will use the QR code.

6. Scan the QR code and a pop-up will appear, a name will be required, you can use any name which will help you to identify your VPN IP

7. Another pop-up will appear in order to allow the VPN configuration on your device, press on Allow

8. After importing the configuration in order to activate it, press on the switch button near the name of your tunnel

9. Everything is done, now all your traffic is redirected through the VPN tunnel.
