

Hi In this tutorial I will teach you how to set up DNS proxies on Windows.
Find and set up IP Authentication in your account
1. Go to your purchased proxies by selecting DNS Proxy in the left sidebar inside your account.

2. If you already have DNS Proxy purchased, go to your purchased IPs by clicking on MY DNS Proxies, otherwise you need to purchase first

3. In order to use DNS Proxies you need to whitelist your IP for authentication purposes.
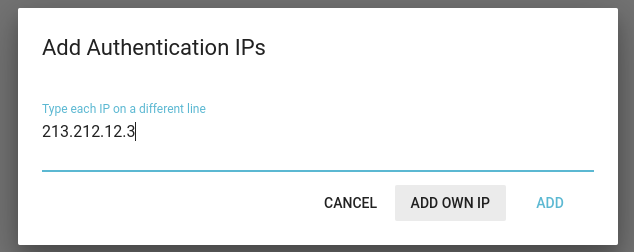
Go in the right sidebar and press Add More

Here you can add the IP of your device by pressing ADD OWN IP, or you can add other devices IPs by manually writing them on new lines. After finishing press on ADD
How to set up on Windows
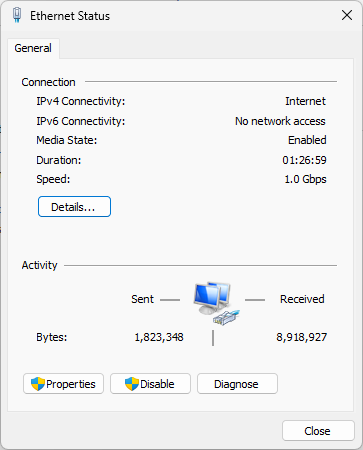
1. Go to Network and Sharing Center, identify your connection, and select it.

2. A pop-up will appear, select Properties
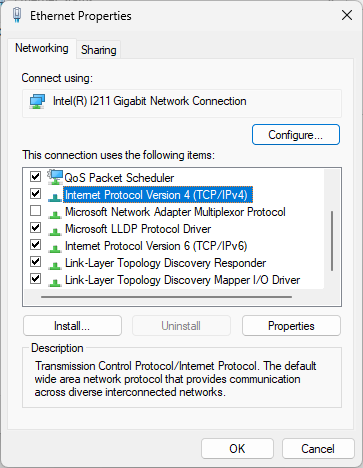
3. A new pop-up will appear, here select Internet Protocol Version 4 and click on Properties
4. Here, select Use the following DNS server address, fill the Preferred DNS Server with the DNS proxy IP you purchased.

After filling your form click on OK.
That's it, now you are using the DNS Proxy IP you purchased