

The first thing you need to do is to get your HTTP Proxy IP you want to use and your Proxy credentials.
First go to your HTTP proxies
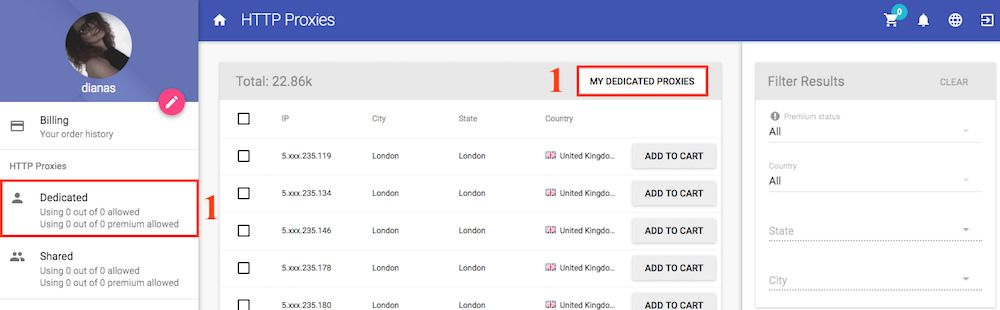
Second get the IP you want to connect and the port of that IP address.
Third you need to get your proxy credentials from the right sidebar.

1. Using your Android Wi-Fi settings (this will work only on Wi-Fi, it will not work on your 4G connection)
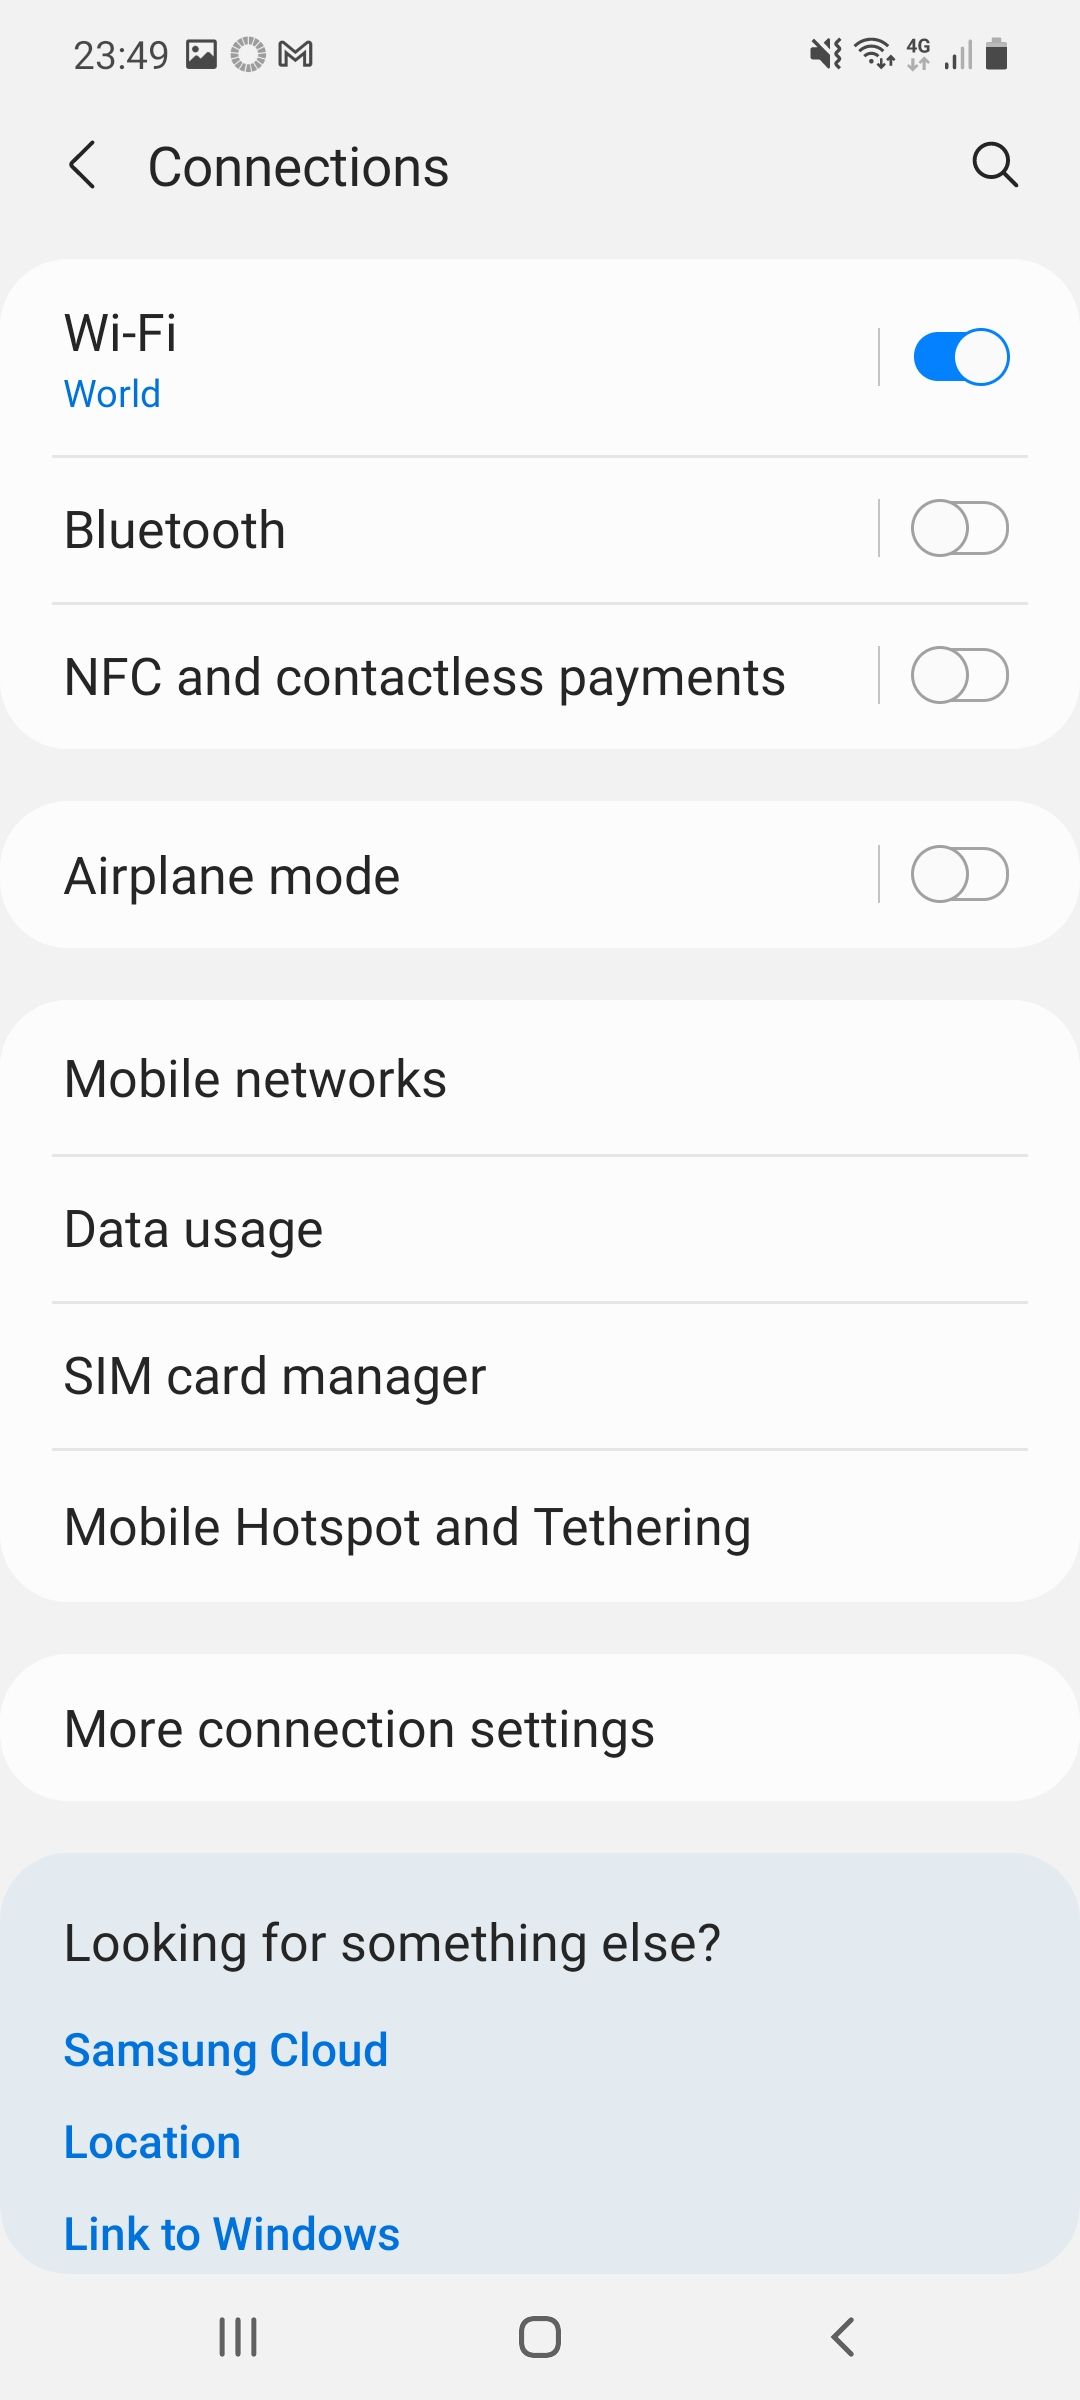
1. Open your system Settings (The settings will be different for each Android phone)

2. Press on Wi-Fi Connections and select your current Wi-Fi connections, mine is "World" and press the gear Icon in the right of it.

3. Inside your Wi-Fi Connection press on Proxy and select Manual

4. Fill the Proxy host name with your proxy IP and Proxy port with your proxy IP port and press Save. If your phone doesn't support Username + Password authentication, like mine, you need to use IP authentication for this. If you don't know how please check our tutorial "How to authenticate with your ip address".

You can visit InfoIp to check your HTTP Proxy.